Creating a Custom Art Studio Table
Creating a Custom Art Studio Table
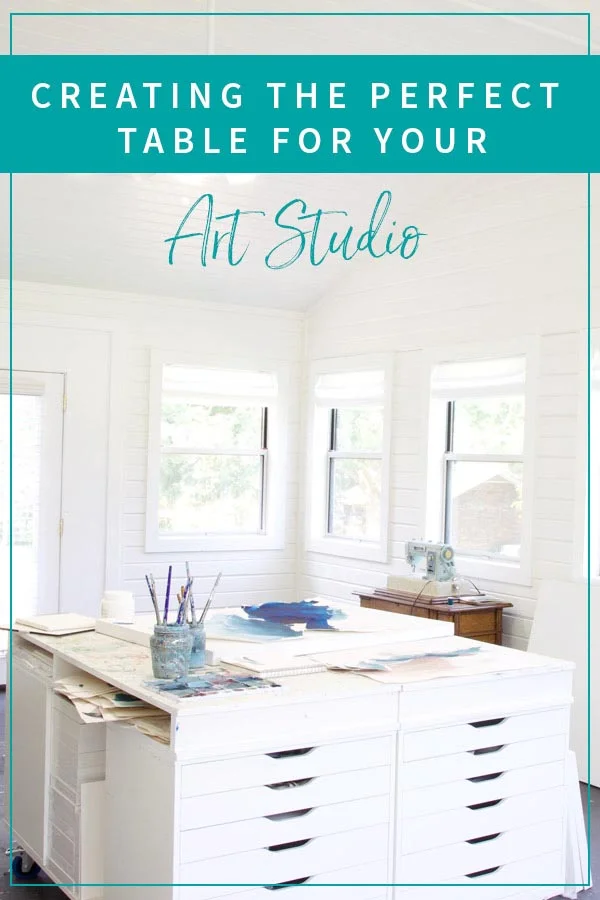
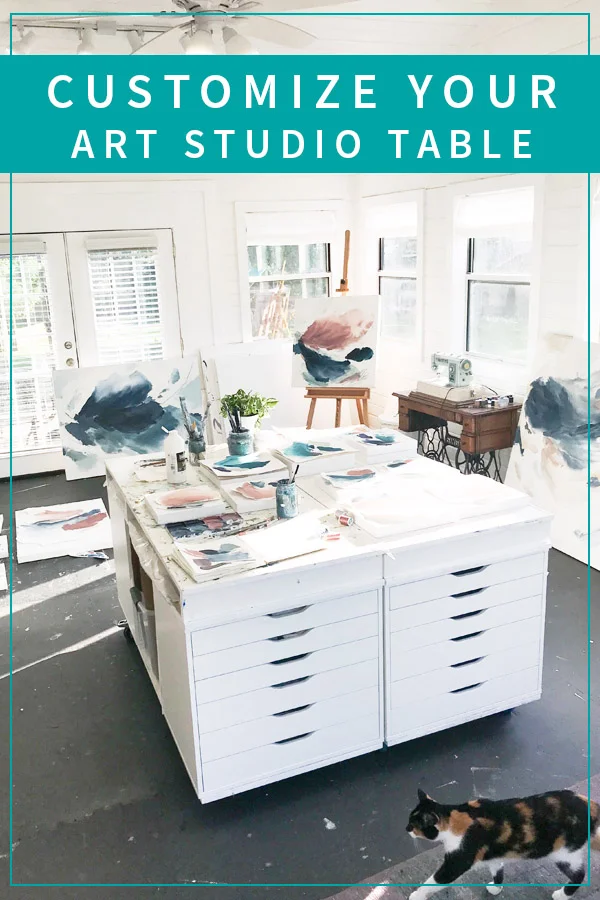
Every time I post a photo of my studio, I get multiple messages and comments about my table. So many of you have begged for this blog post and now it’s finally here! Before I had this table, I remember feeling like I had random baskets, crates, bags, etc with supplies shoved all over the place. At the time, I also had a table that was too short to work on while standing. I began searching for art studio ideas on Pinterest and saw several inspiring spaces with desks built around Ikea Alex flat drawers. Check out my Dreamy Art Studios Board to see some of my favorite studio storage ideas.
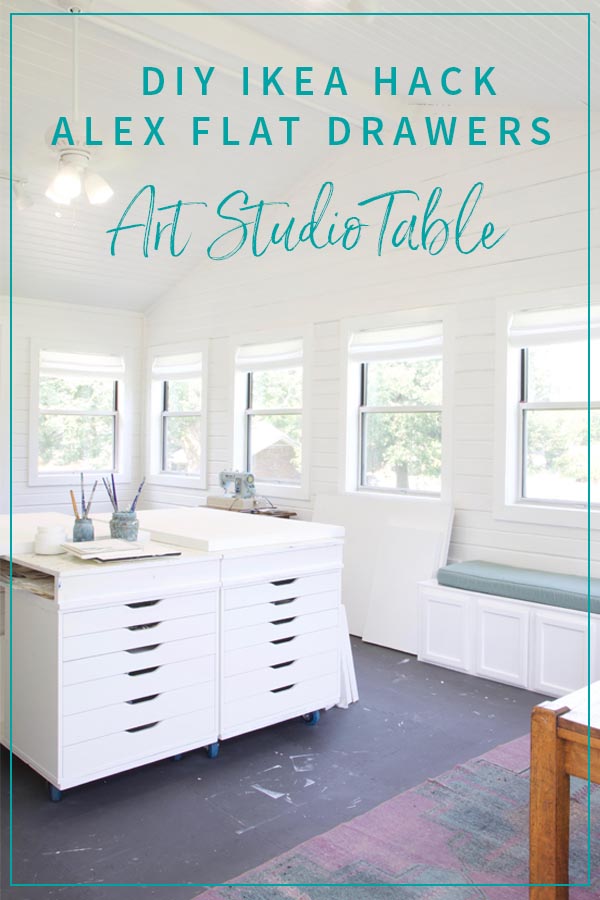
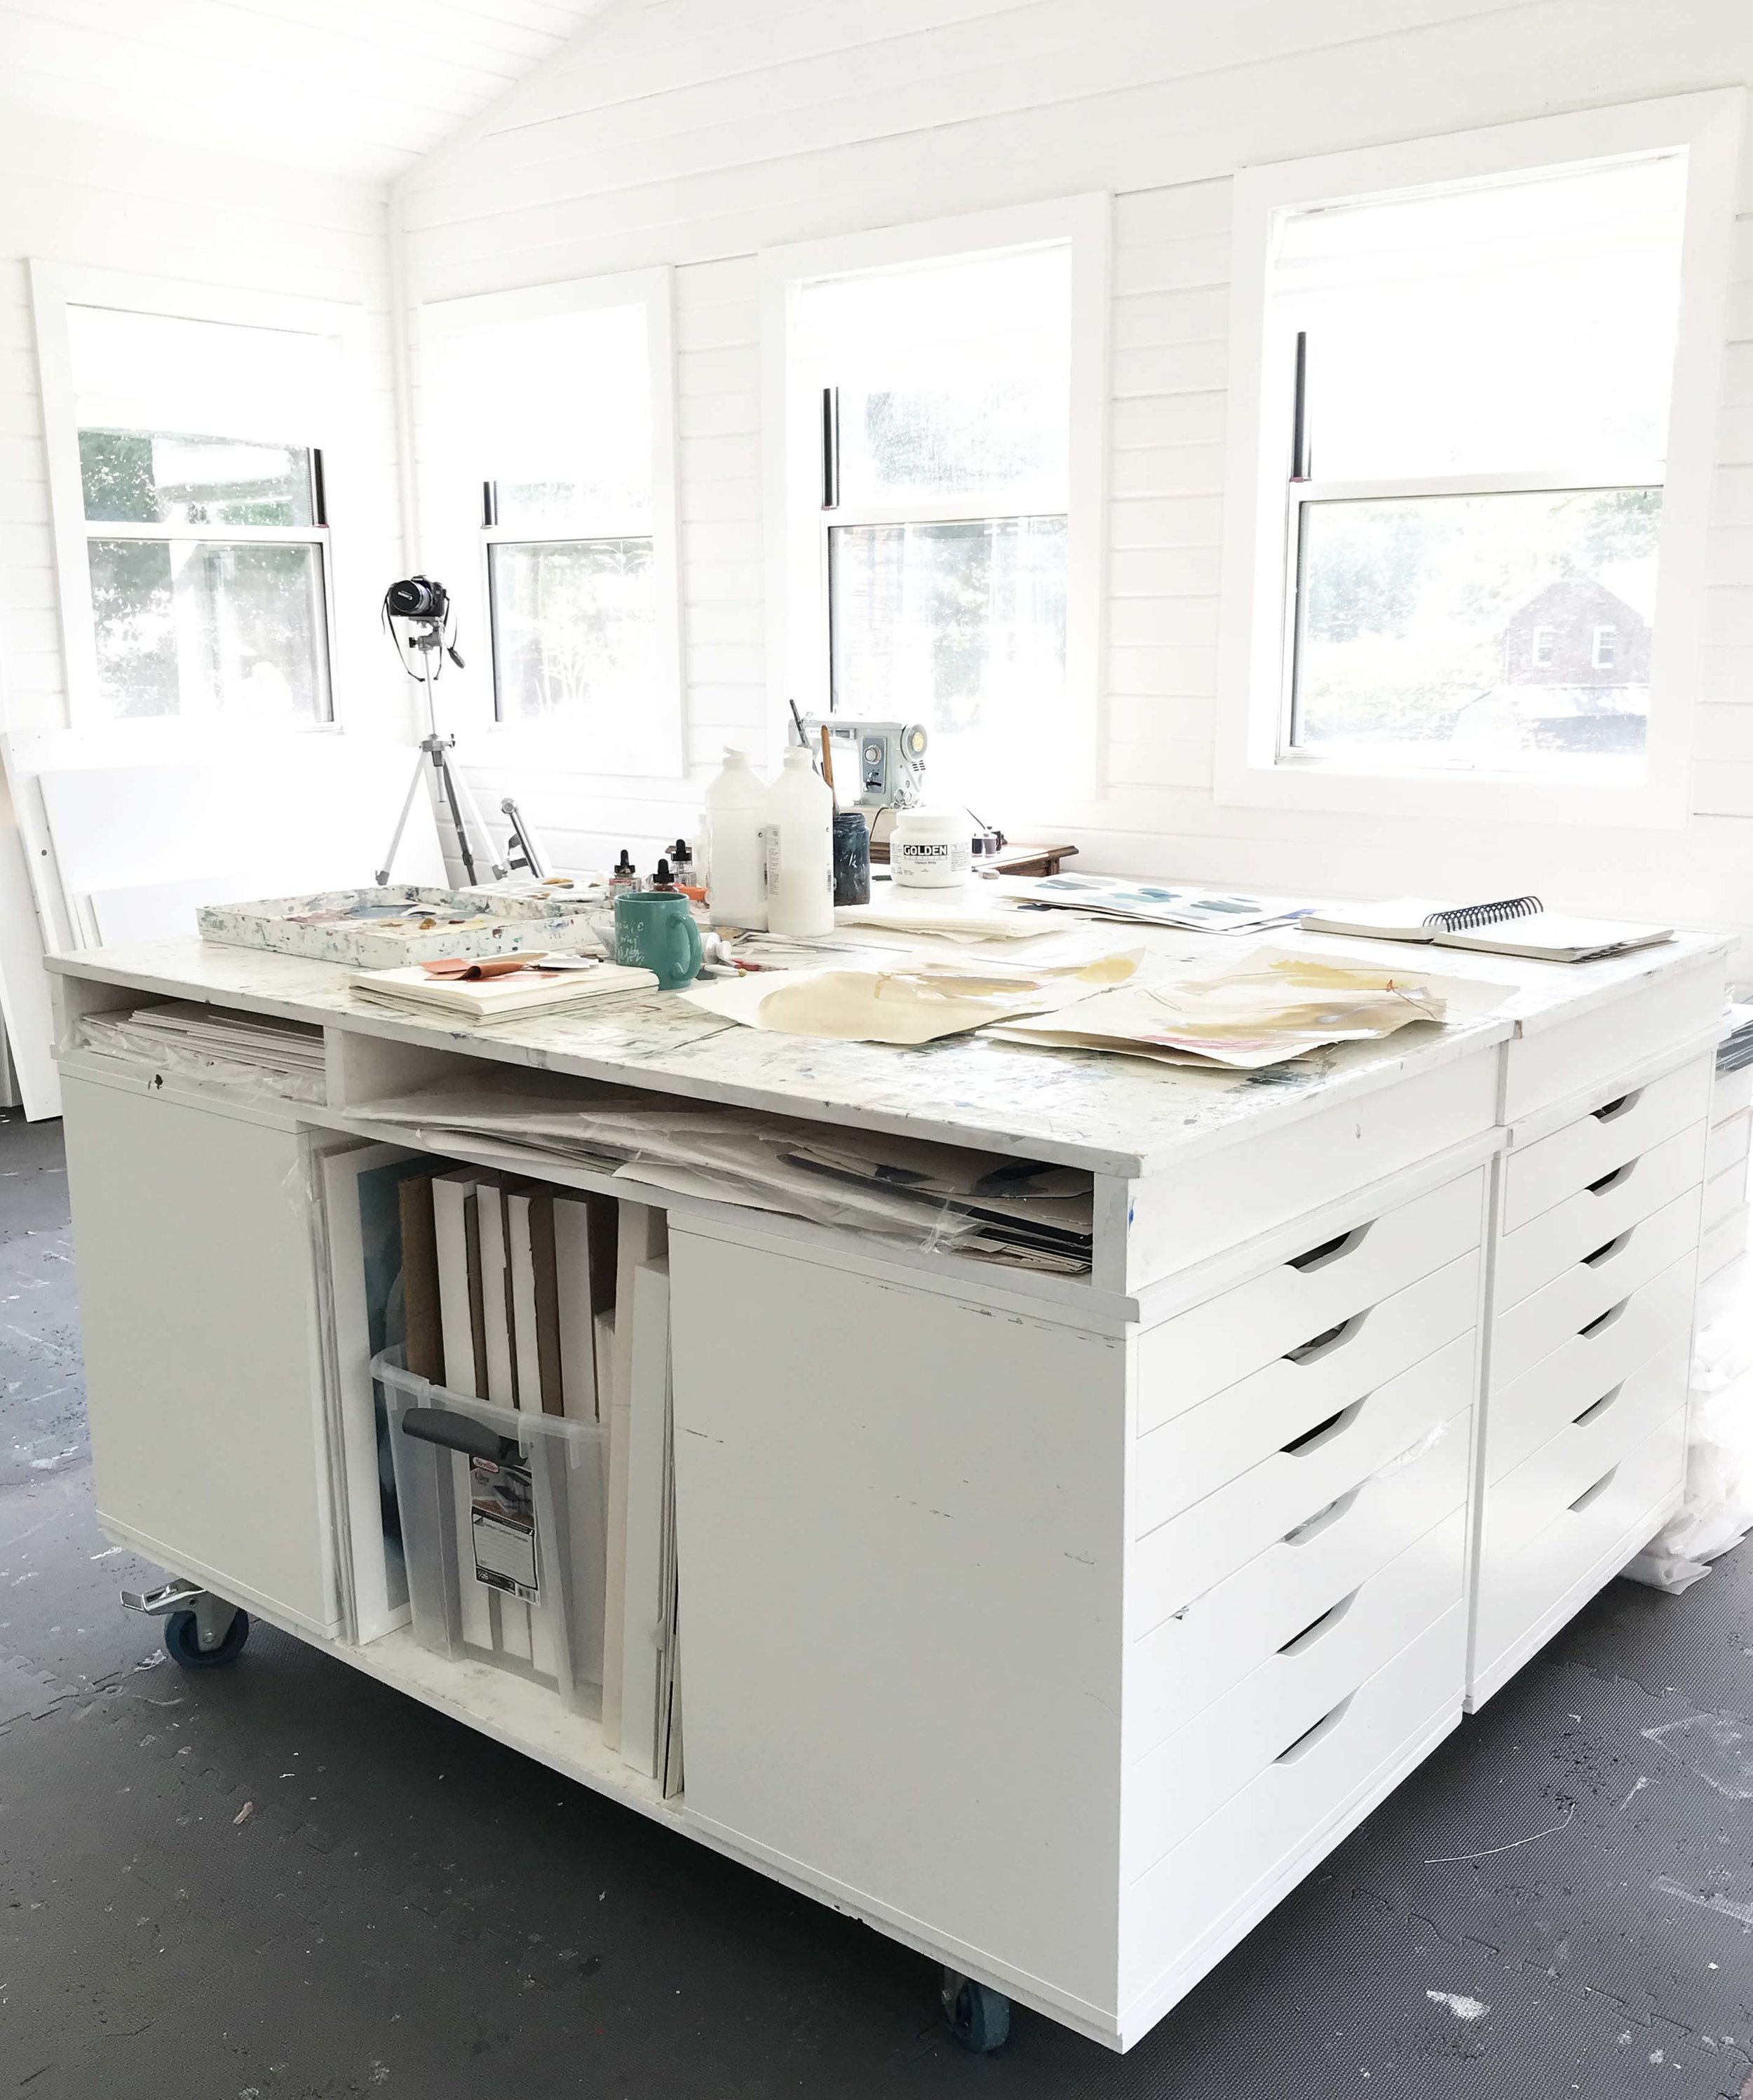
I decided on two long tables on casters so I could move them around in the studio and separate them if needed. I wanted Ikea Alex drawers on each side of both tables, which meant I needed 4 of them. Each table is 60” long, so I knew there would be space between the drawers for some storage- and you can never have enough storage so- bonus space. The drawers are are 26.25” wide, which was a bit annoying because we had to use a separate sheet of plywood for each piece (since plywood is 48” wide, you can only get one 26.25” cut out of each piece which meant a bit more $$, but I definitely think it was worth it to have the wood framing the drawers be a perfect fit and the exact width of the drawer units.
My dad helped me build the table exactly the way I had dreamed it. He is the Chip to my Joanna. ;)
Lets get technical for a sec
Because of the casters on the bottom piece of plywood, the drawers couldn’t sit flat because of the screws/nuts. So we had to create shims for the drawers to sit on.
Also- if you do this- get REALLY strong casters that will roll smoothly for this heavy table. Unfortunately in my new studio with these padded mats, I can’t roll my table around much because it messes up the mats. But having the table on casters is absolutely worth it!
Additional paper storage
The table wasn’t quite as tall as I wanted it to be with just the casters and drawers, so we created a flat storage shelf above the drawers. I opted to not put the divider in the center so that I would have one larger space for large paper. I overload this area and couldn’t live without it. You can also see the storage space between the drawers for small/medium pieces.
We added some trim board to cover the edges of the plywood and make it a little prettier, then painted it white- with the same perfect white paint I use for my studio walls.
The Messy Side & The Business Side
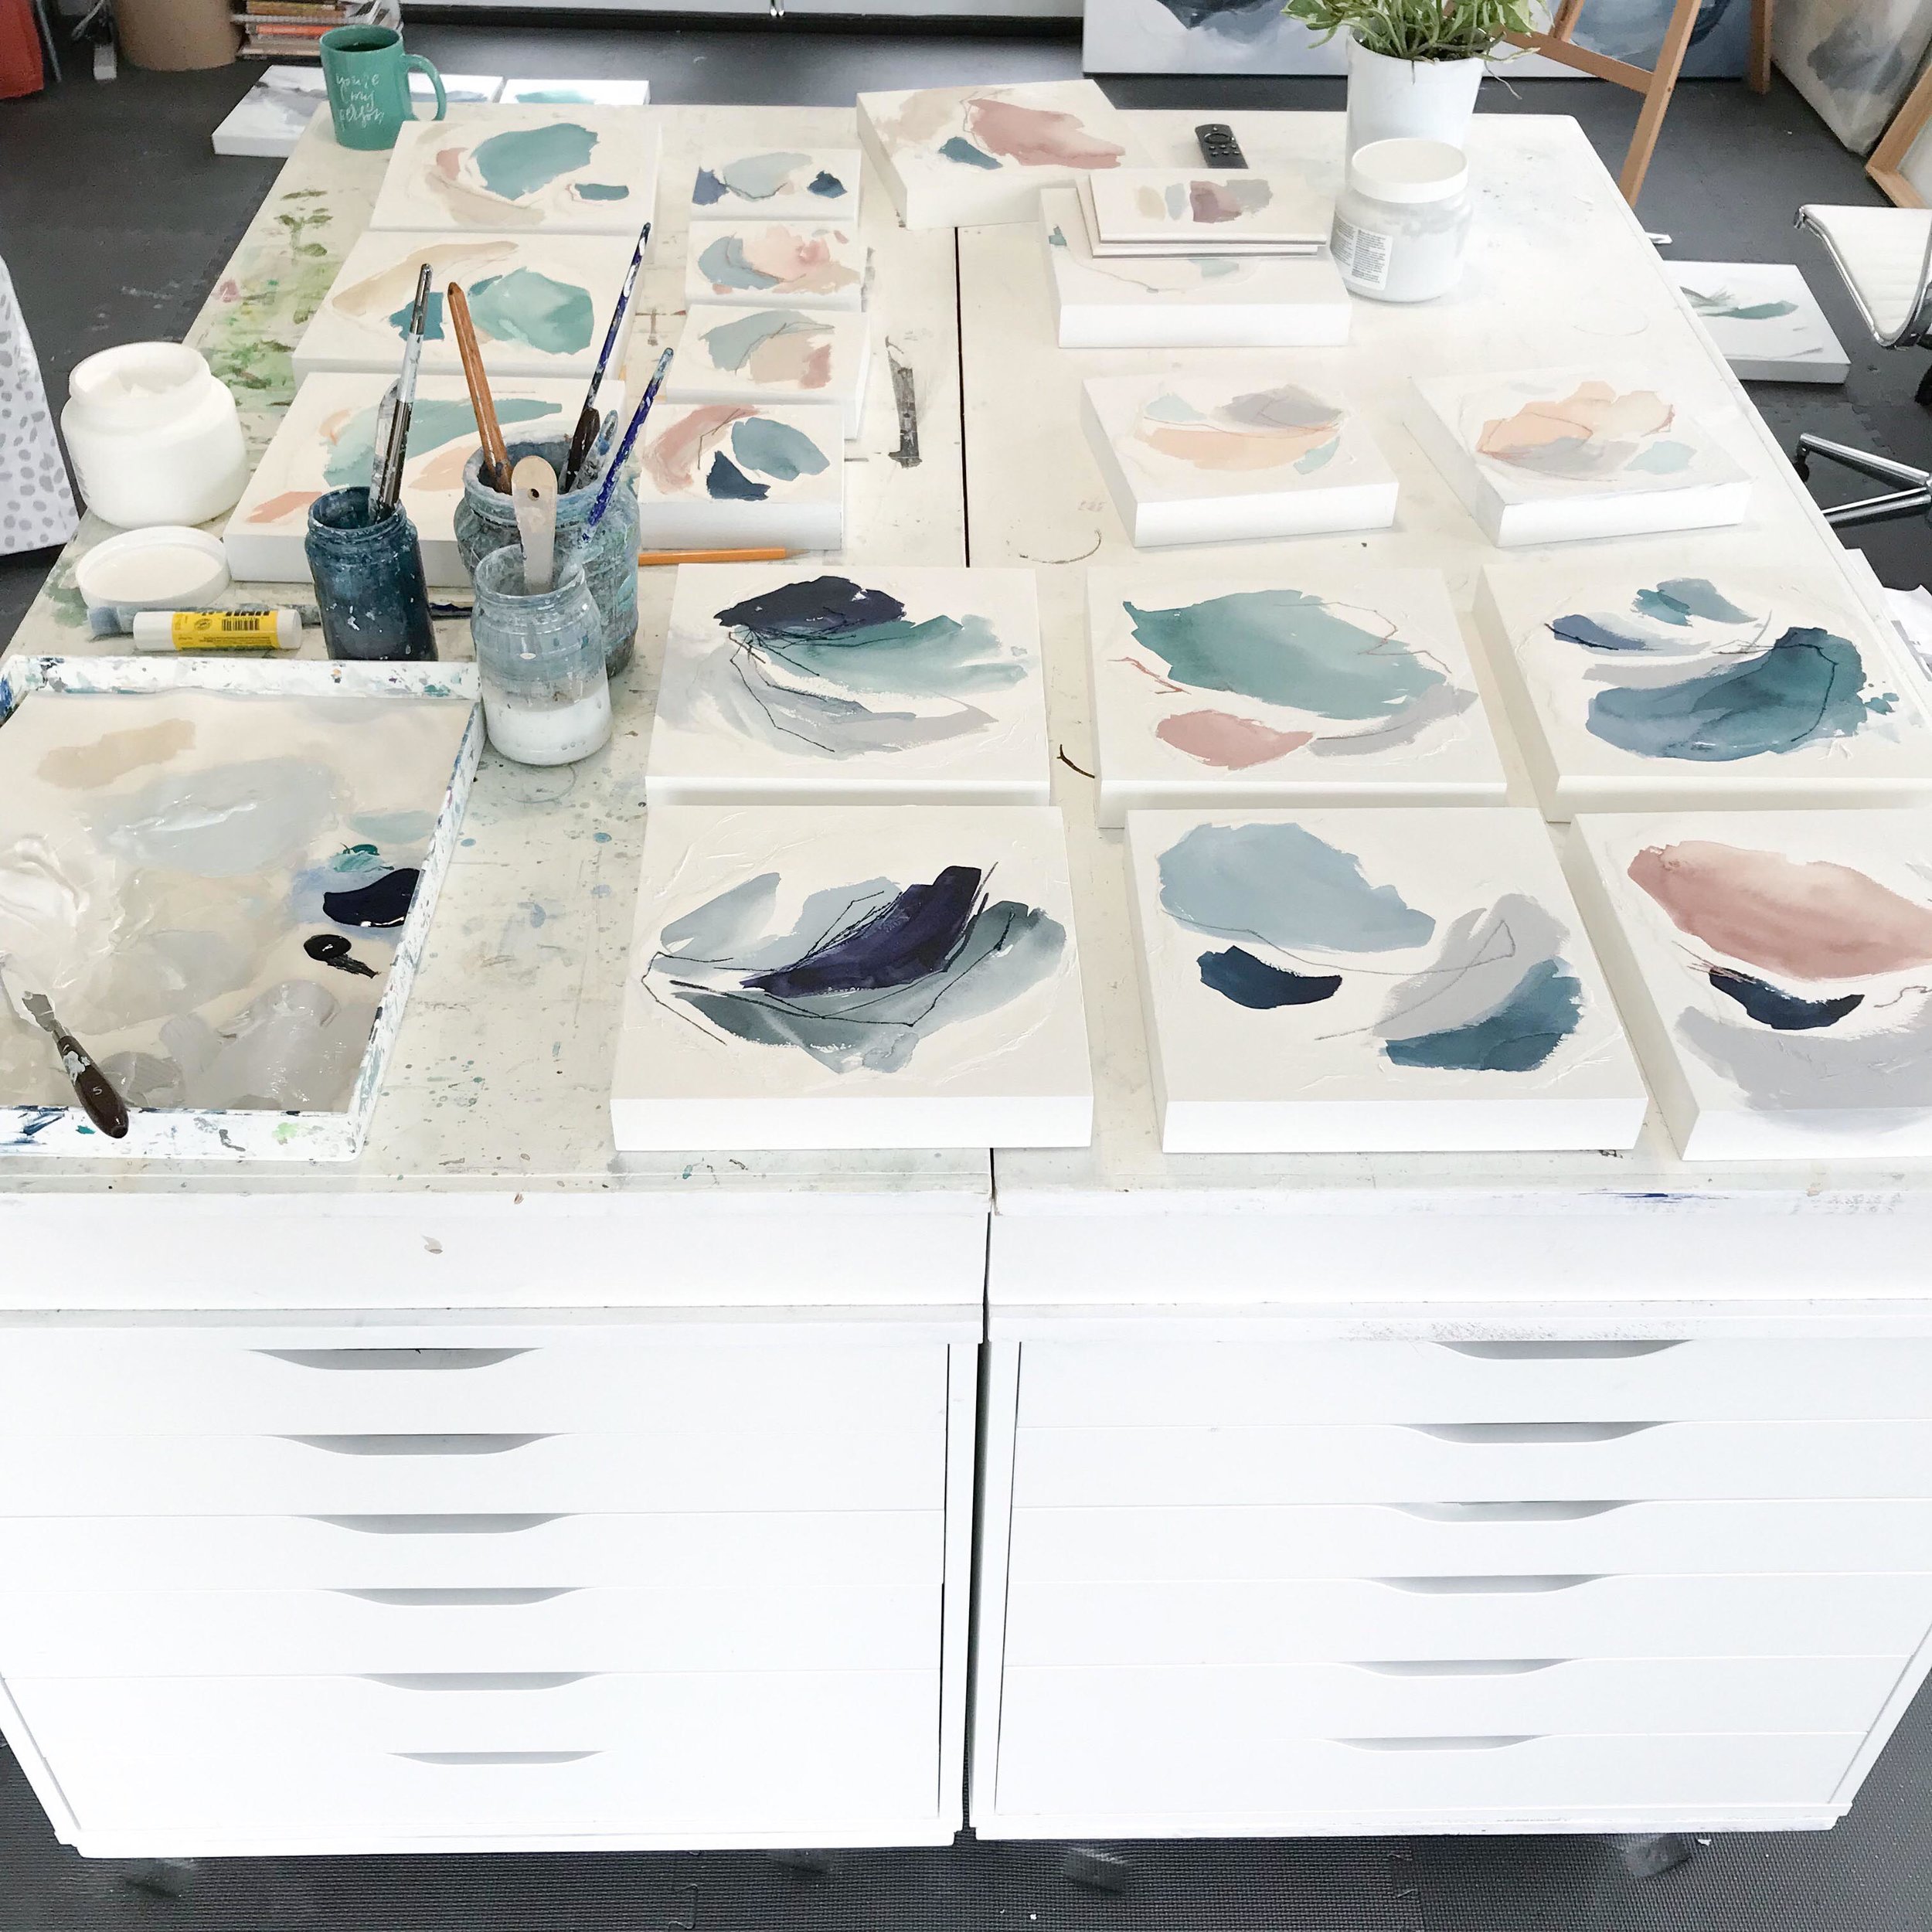
One one side of my table I keep art supplies- paint, ink, chalk, charcoal, paper, works in progress, painting scraps, brushes, thread, etc. On the other side of my table I keep my “office” supplies- mat board, pre-cut mats, clear bags, painters tape, paper cutter, business cards, computer paper, etc. Also the business side faces my more traditional desk where I use my computer, do my books, etc. It really helped me to have two separate spaces like this. In my old studio I didn’t have space for this, so I just used half my table for business and half for mess, but lets be real- that wasn’t always the case and my computer has some paint smudges and things get moved around constantly depending on what I am focusing on.
Organizing your art supplies
My top drawer is chalk and colored pencils- easy to grab while I am working at my table and the furthest reach for my toddler. Although- she can reach them now & knows not to play chalk without mommy.
I like to organize my paint by keeping cool colors in one drawer and warm colors in the drawer underneath. These flat drawers make it so easy to see all the colors and labels. The bottom 3 drawers on the Ikea Alex set are a little deeper, so thats where I keep my acrylic inks and palettes, paper scraps, and larger items.
think about where you do your work.
In the beginning stages of a painting, I work flat on the floor, later I work standing at my table, and finally finish the piece on the wall. So I needed my supplies to be near all of these areas. I work on the floor right beside the art supply drawers so its easy to pull out supplies and put them back in the drawers when my little girls are in the studio with me. I can also access the supplies easily when I am standing at my table.
It took a bit of time to become accustomed to my new studio and to notice my natural habits- where I would work standing, where I would spread out on the floor, and how to arrange everything. So in the early stages of organization, take your time. Then if you notice you need to move things around again, you can always adjust.
photo by Lauren Carnes
I also have drawers for the following items:
SHIPPING: Packing tape, shipping labels, fragile & “this way up” shipping stickers, custom stickers, cards, and washi tape.
PRINTS: 3 drawers for 3 sizes of document sleeves and backer board from clearbags.com for prints or works on paper.
PALETTES- I absolutely couldnt live without my Sta-Wet palette. So I have a drawer to keep the sponges, papers, and the palette fits as well, although its usually on the table top.
OFFICE SUPPLIES, WIRING SUPPLIES, SOME CRAFT SUPPLIES FOR MY DAUGHTER, 3-4 DRAWERS OF PAPER SCRAPS AND WORKS IN PROGRESS.
Bonus info:
I also get asked a lot about these floor mats. I bought them as a temporary solution to having aggregate flooring in my studio space with a crawling toddler (ouch!), but I actually really love them. They’re soft on my feet, good for my back, great if you drop things (all the time), kind to the corners of my paintings, and perfect for my little girls running, crawling, falling, & playing in the studio with me. I will say though- they never feel squeaky clean. I run our Roomba in my studio often to pick up dust, but they still get our feet dirty. I bought these at Harbor Freight Tools because it was the best price I could find. But they do sell these interlocking floor mats on Amazon too. They even have some that look like wood flooring. I’ve always wondered if I should have done that.
If you want these to take up your entire floor, they do expand in heat and will begin to buckle if you haven’t left space around the edges of the room. The first summer with these in the studio I had to trim them all around the edge of the room so they would lay flat again and had to do additional trimming recently for Summer # 2.
Let me know if you have any more questions about my table and what you want to hear about on the blog next.

